![]()
Finally after paying my dues in the Garden, I got to spend some time in the workshop.
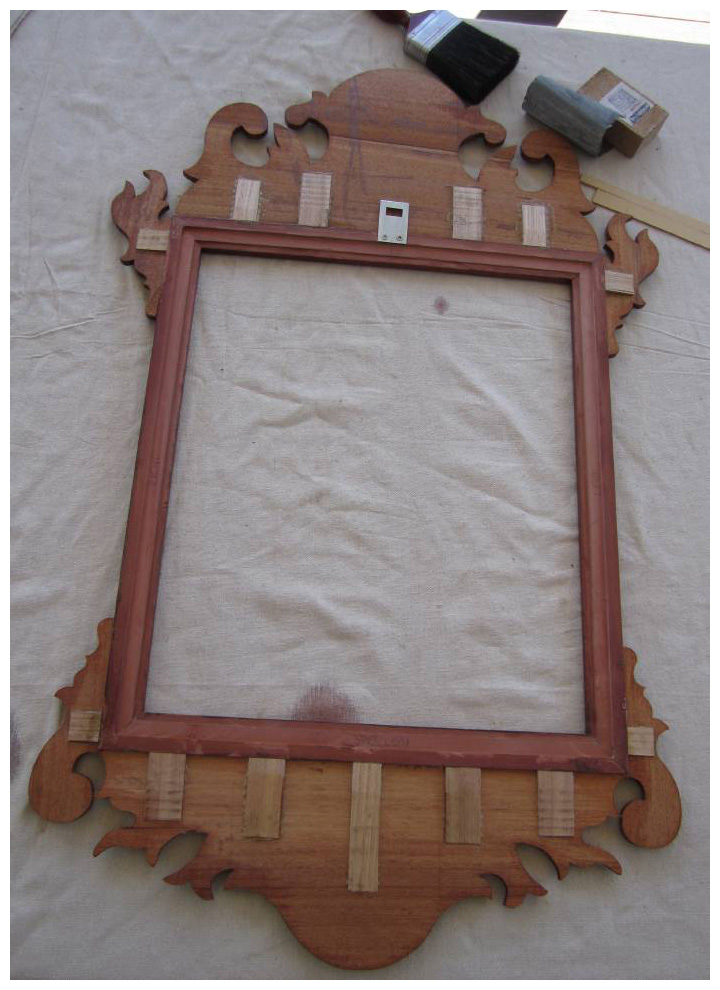
With the front all glued up and ready for finish, I got to work on the back putting in some blocks for additional support and making a mounting bracket from some old brackets I had lying around.
Not 100% sure about the grain direction on those support blocks, but they are only about 2mm thick so I don’t think it matters that much anyway.
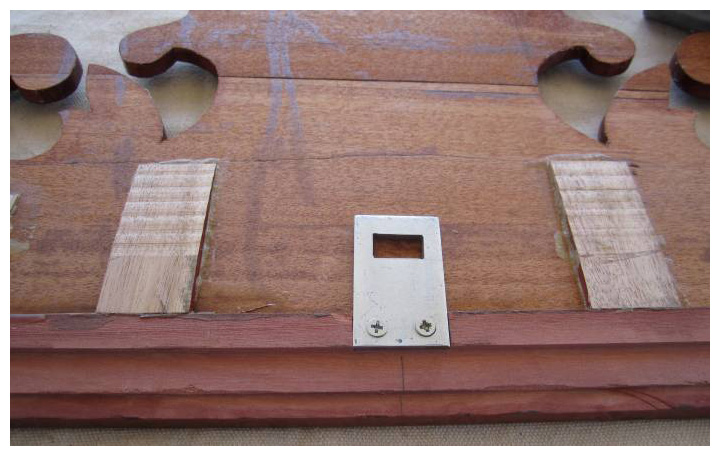
Bracket was drilled and counter sunk, the hook hole was cut with a scrollsaw. The hook hole is oversized to allow a little sideways moment to help straighten out the frame when its hung on a wall. The whole bracket was morticed into the frame to allow it to sit closer to the wall.
Now time for a finish, in this case pre-catalysed lacquer my finishing schedule was:
4-6 Coats of 100% gloss thinned at about 4:1
Rub back the finish with 600 grit sandpaper
4-6 Coats of 75% gloss thinned about 2:1
I spraying using a HVLP gun with a 1.2mm tip.
Initially I tried to apply the gloss coats at about 10:1 but the finishing wasn’t leveling out so I increased the thinners to resolve this.
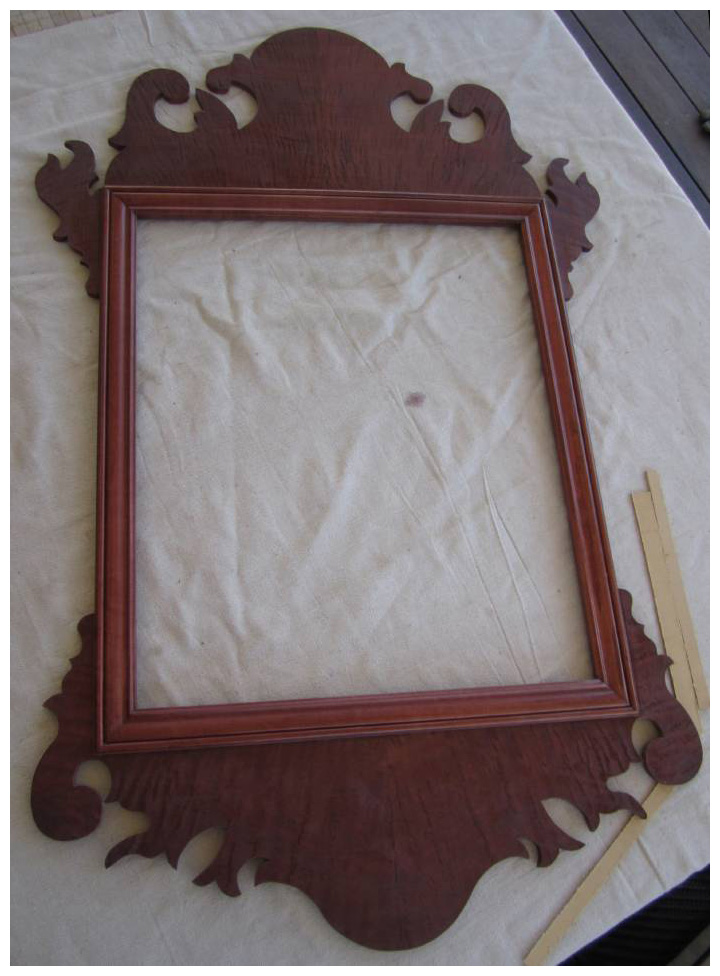
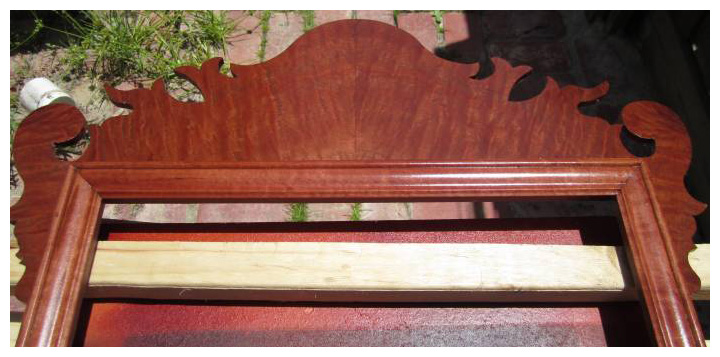
In these two pictures you can see the results after the rubbing back.
I used a high gloss because its clearer ie no dulling agents added. This allows me to build a clear finish quickly and build some depth to the finish. The gloss level of the final coats allow you to adjust the shine later on.
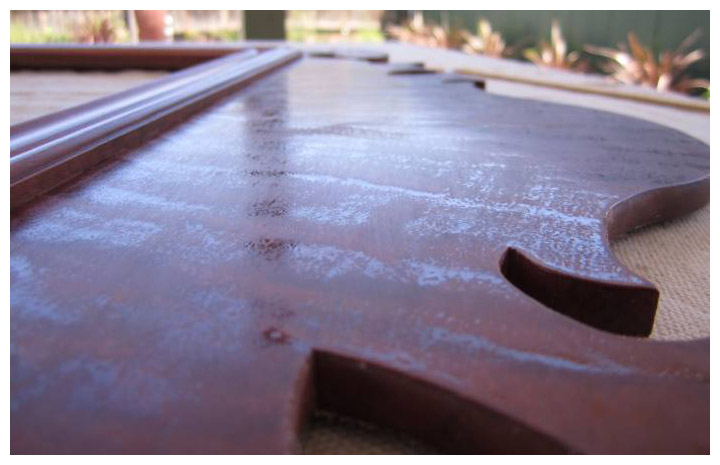
Here you can see the results after rubbing back the finish, the low spots appear glossy. The photo makes them look pretty significant but in reality I doubt they’d be much more than 1/4 the thickness of a piece of paper.
If I were after a glass like finish I would repeat the gloss coats and rubbing back until the gloss area’s disappeared. Personally I like a little texture, it is wood after all, so I stopped my gloss coats at this point. I also find that as the finish continues to dry of the next week or 2 this will flatten out even more.
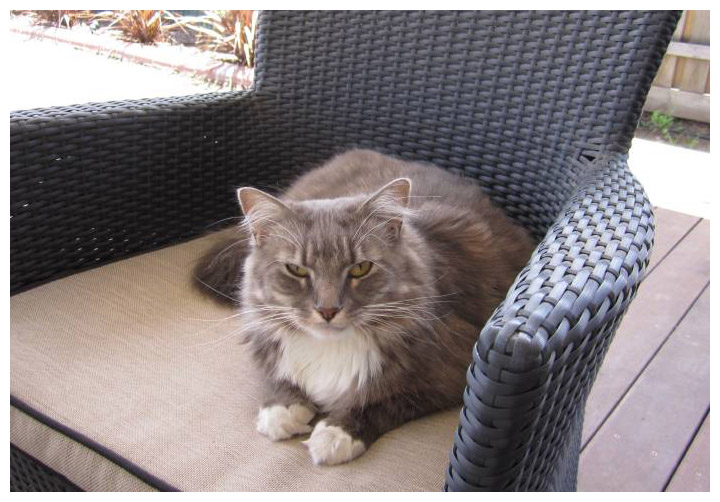
Here is the quality assurance officer, not looking to impressed!
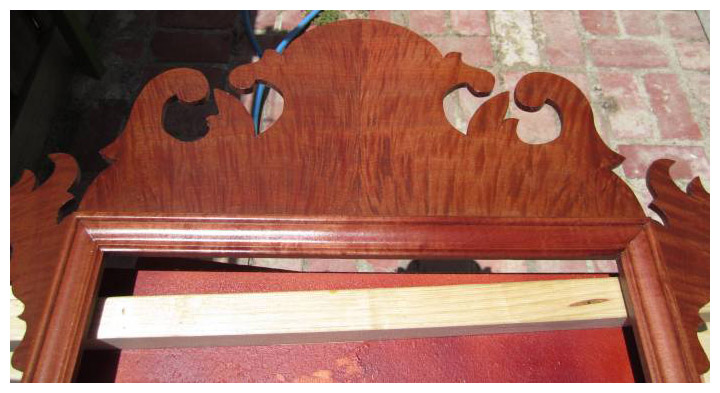
Here is a quick picture showing the top of the frame, its gives you a good idea of the grain in the veneer. These were taken in full sun with the wet finish so not ideal but you get the idea.
Bottom of the picture frame.
I’ll post up a finished picture soon, beveled glass has been ordered and is due in a week or two.