|
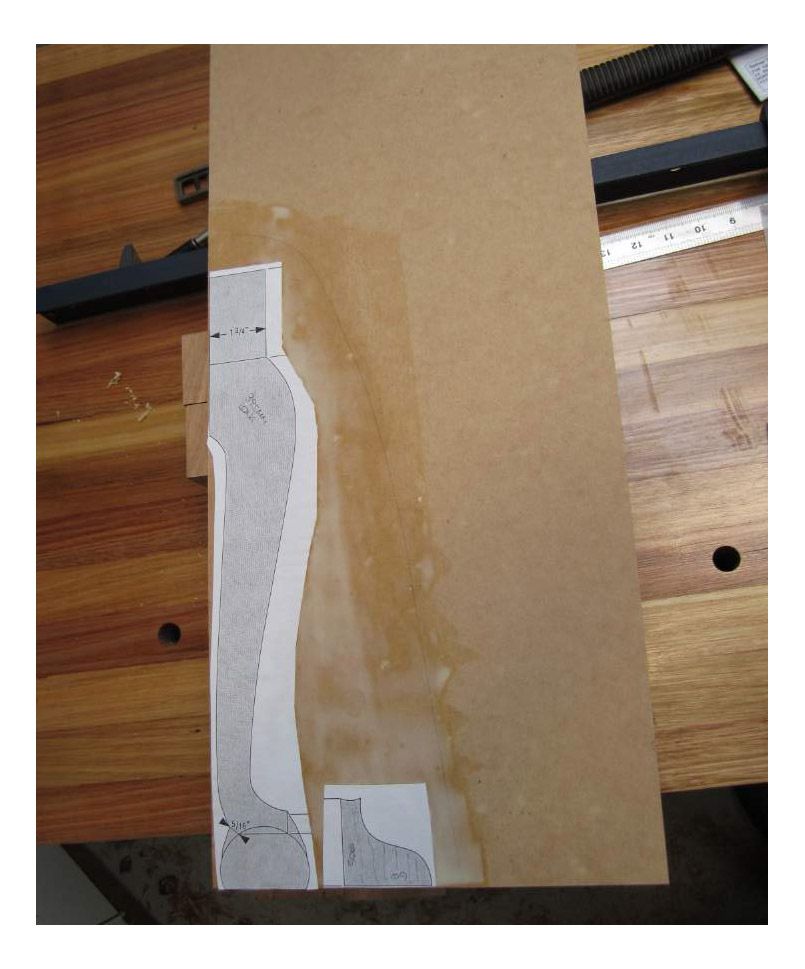
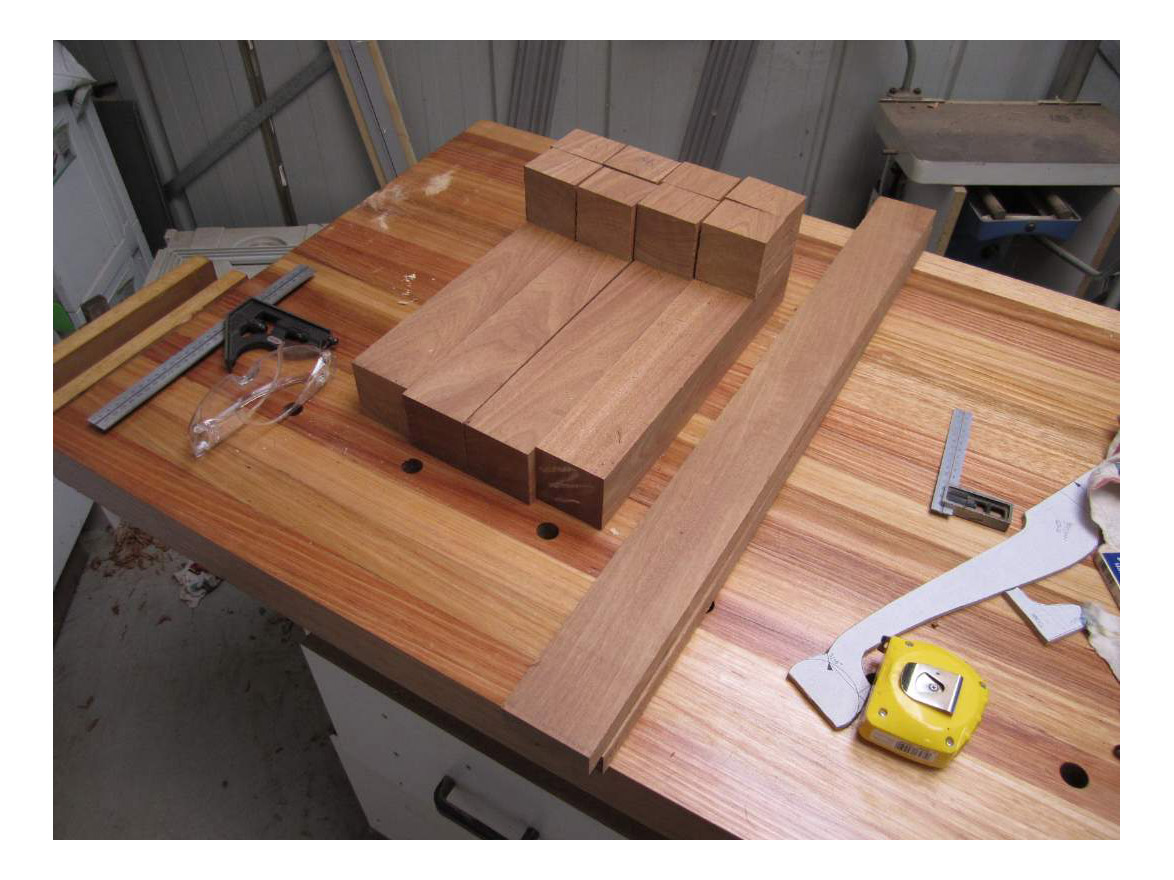
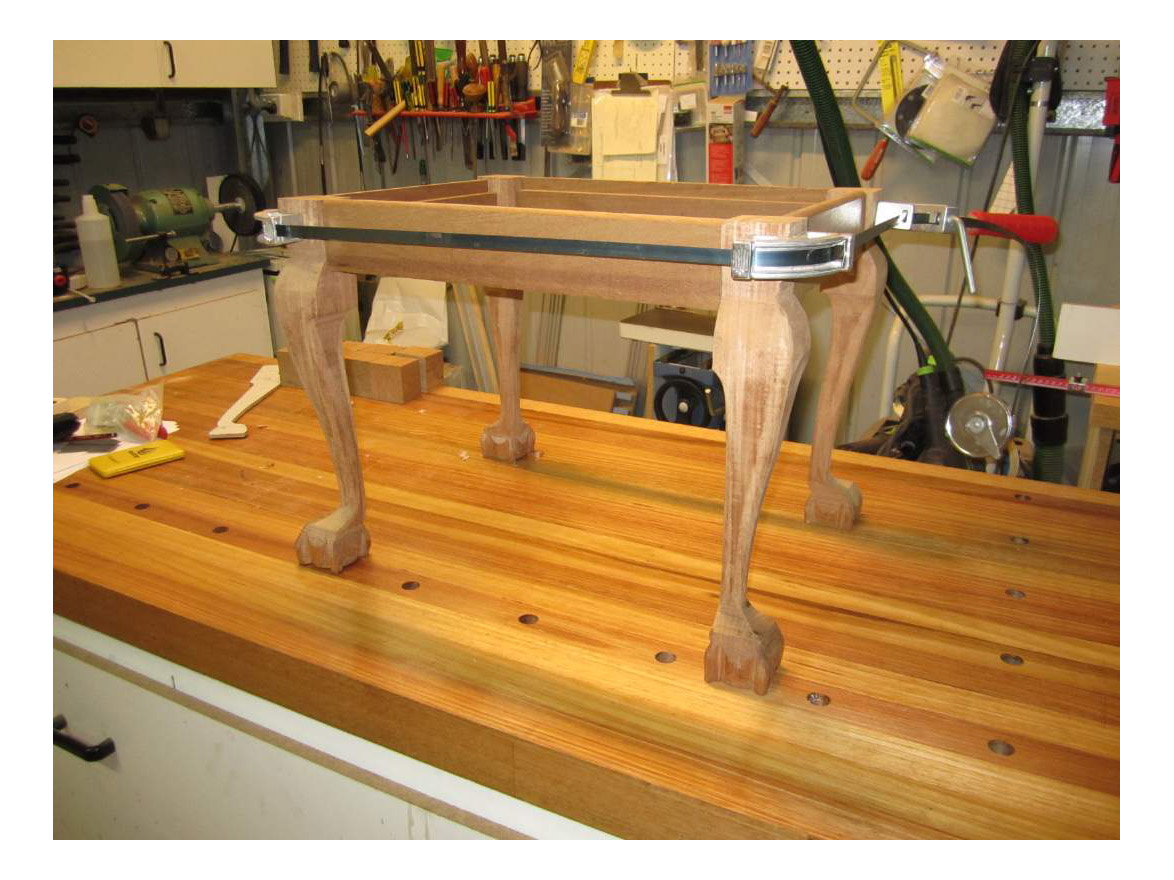
Lets face it 99% of woodworking is just working with straight timber and 90 degree joints. Being able to work with compound curves and even a little carving will open up your woodworking to a whole new level. I am jumping into curves by attempting a small table using Ball and Claw style cabriole legs. Ok let the fun begin, the table is based on an episode of “Rough Cut Woodworking” (Episode 11, Season 1). The timber used is some spare Melunak. Leg templates were printed and glued onto some 3mm mdf then cut on a bandsaw and sanded smooth. I know it may seem like a lot of work but I will keep these templates for future projects and hope to get plenty of use out of them. I used regular PVA glue and it was ready to go in about 20 minutes. The templates I am using were included in the rough cut DVD and just printed via laser printer to A4 paper.
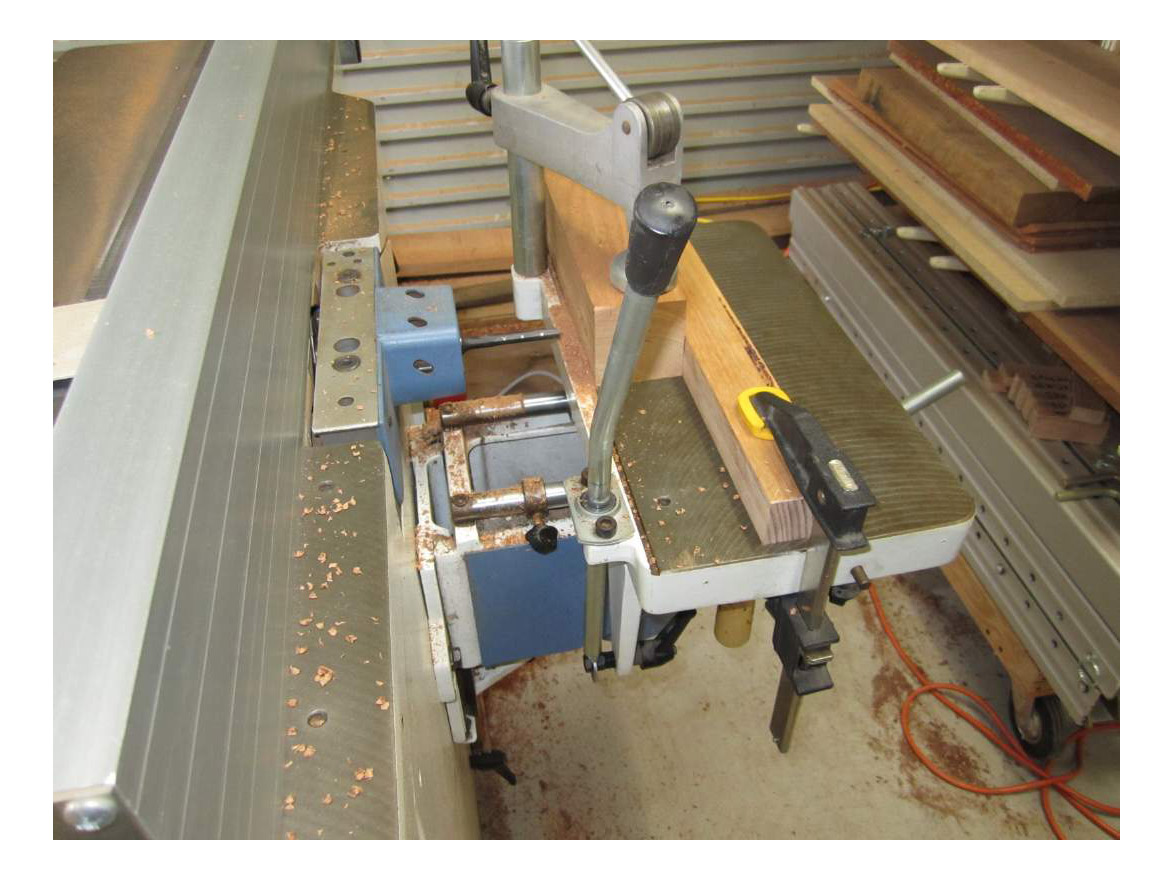
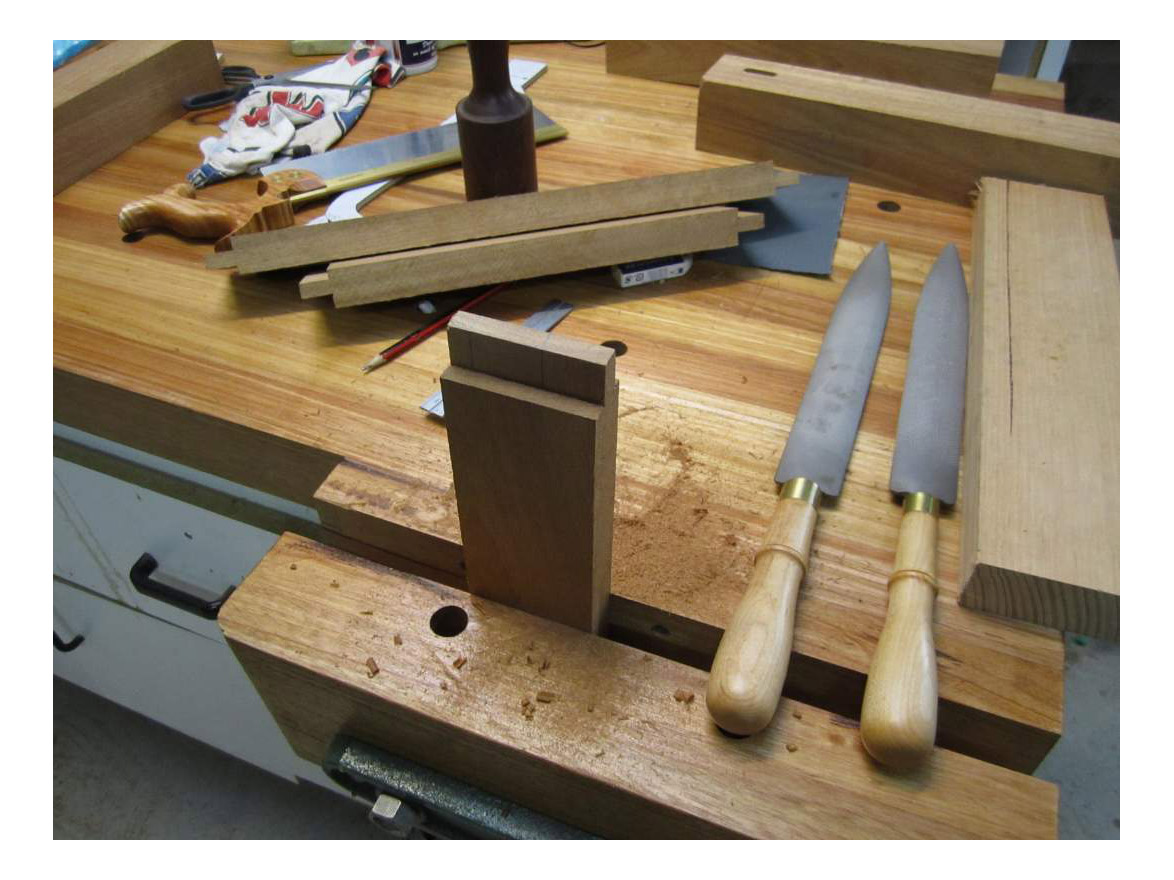
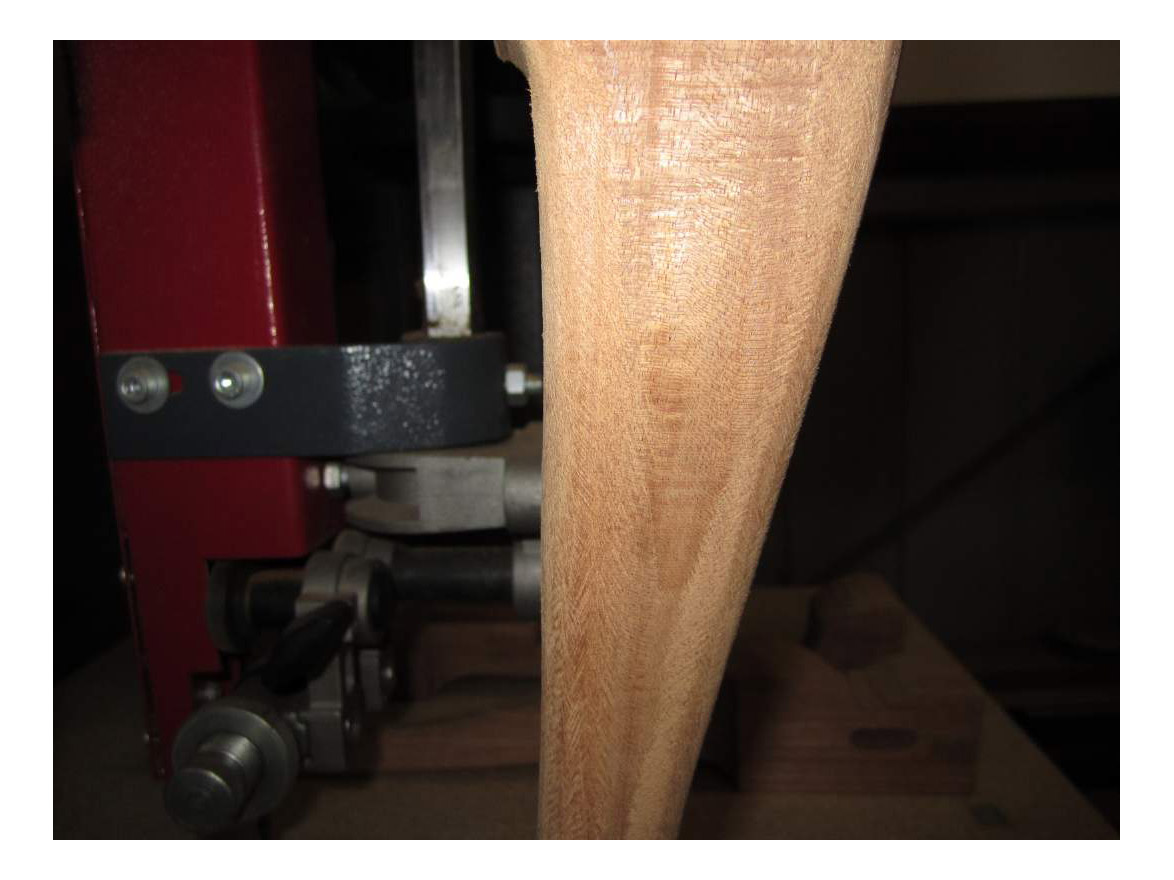
Round mortices were drilled on the leg stock before any cutting took place ,its much easier to clamp the stock down while still square.
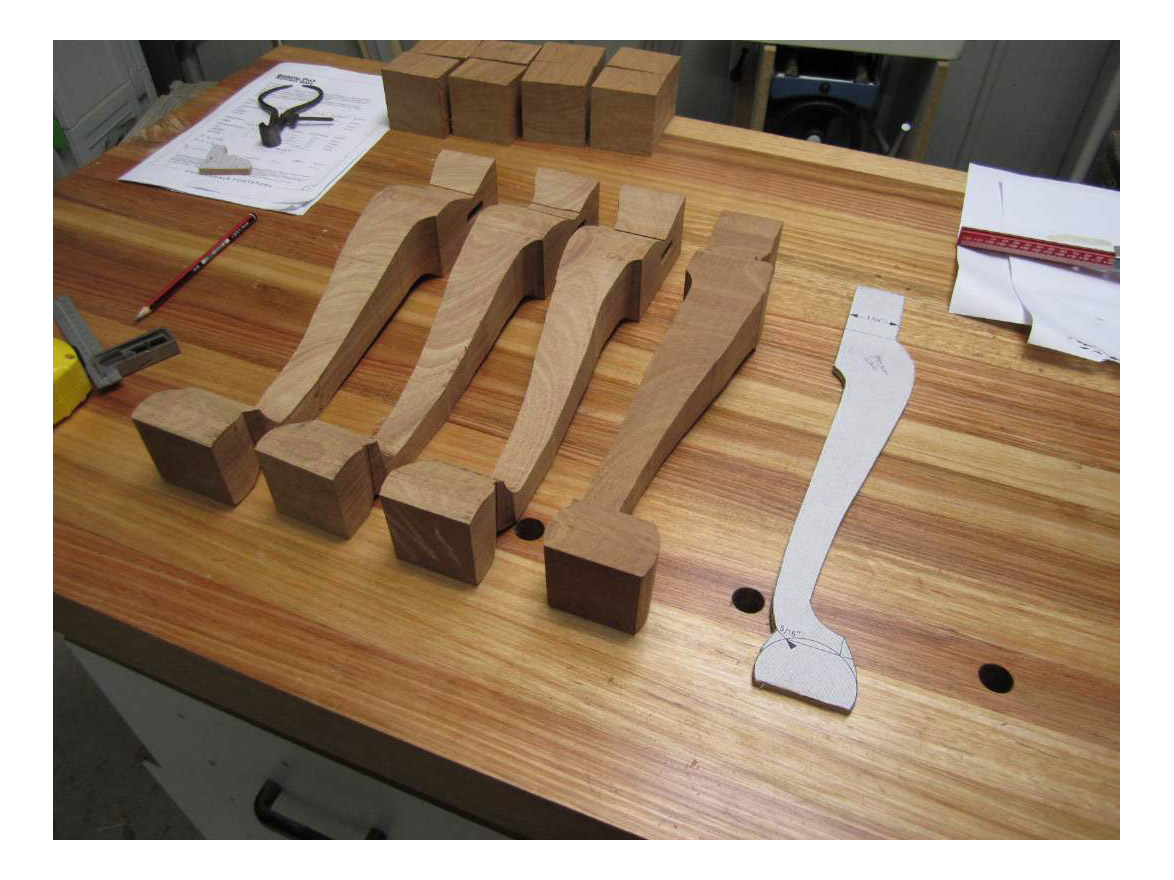
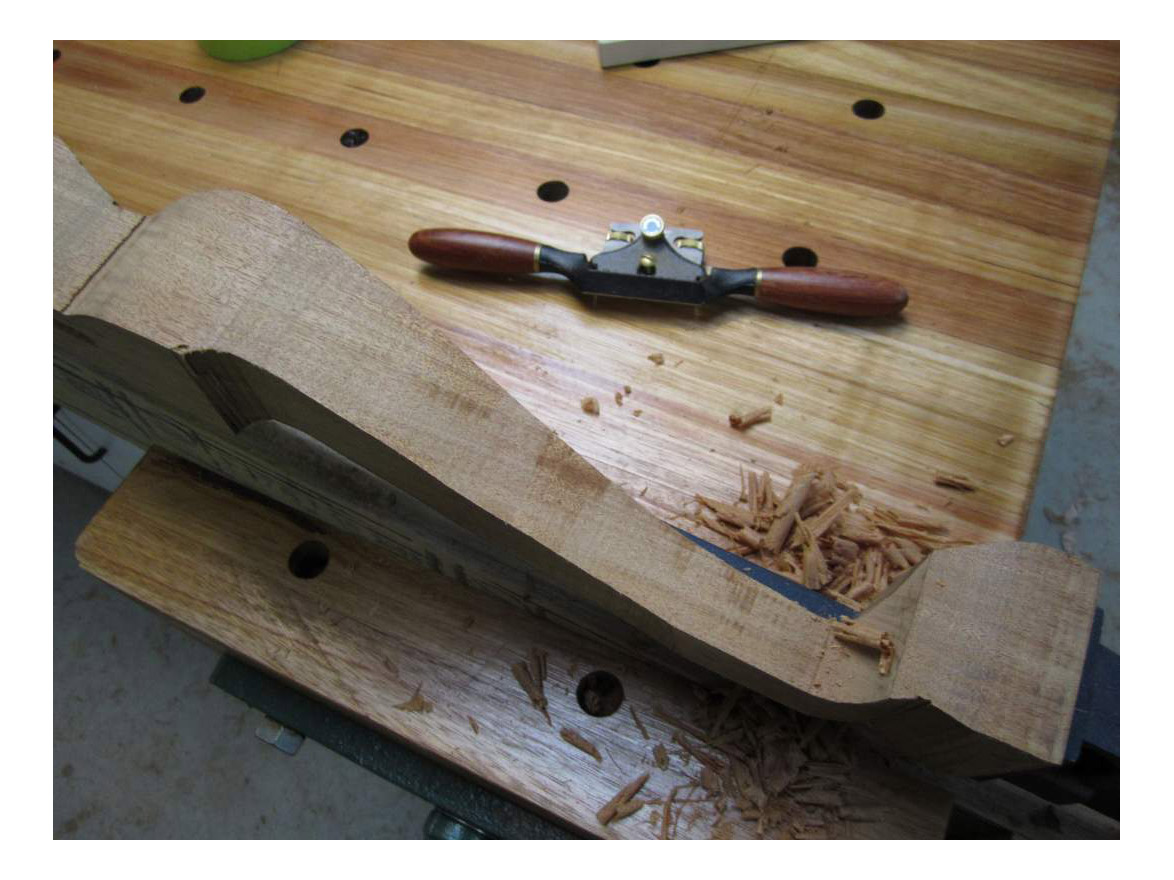
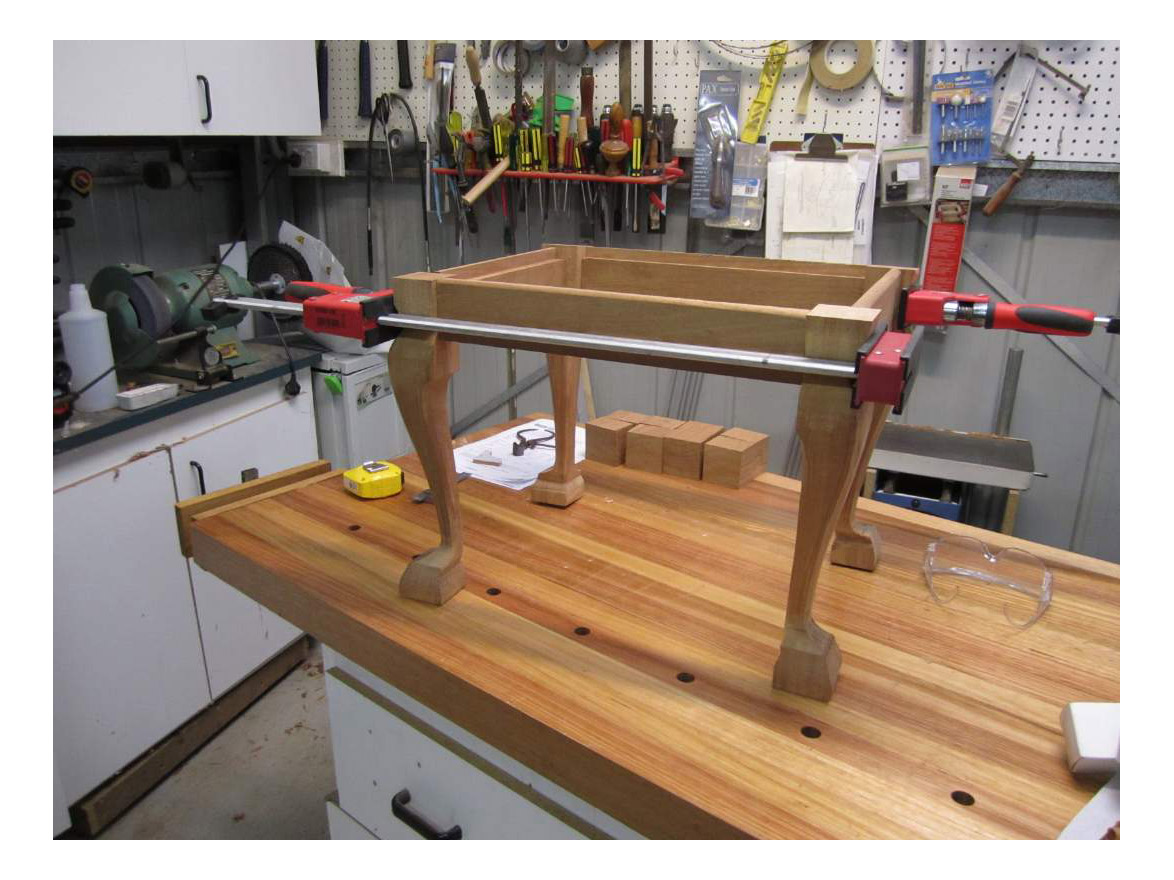
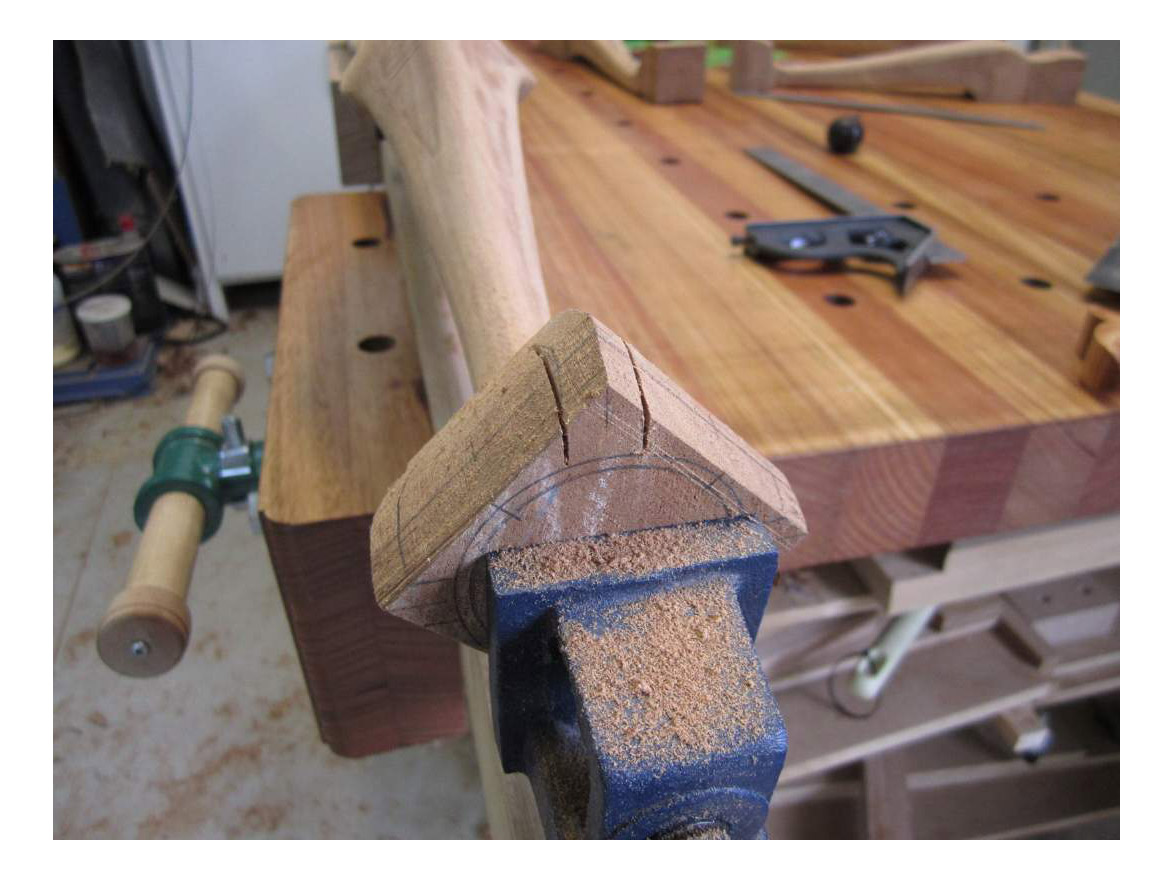
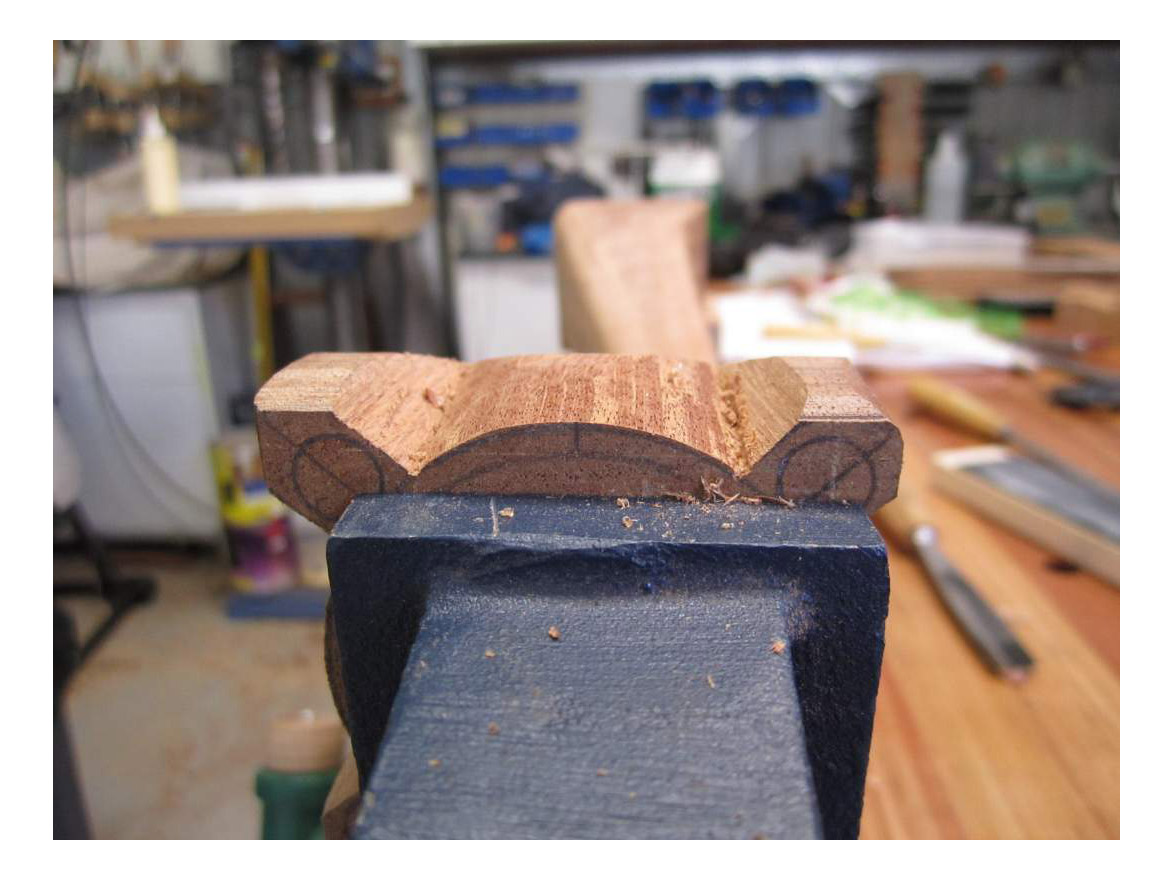
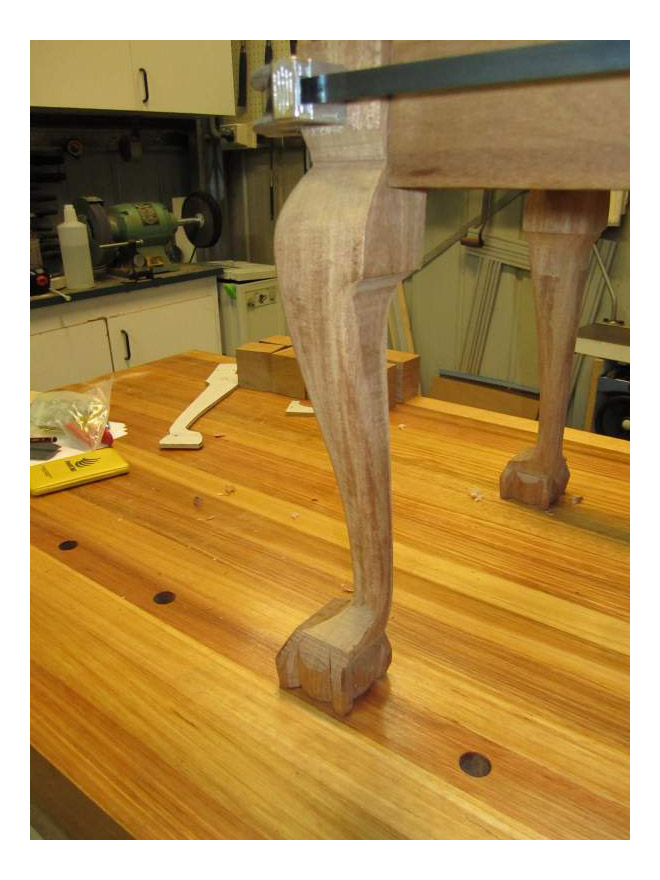
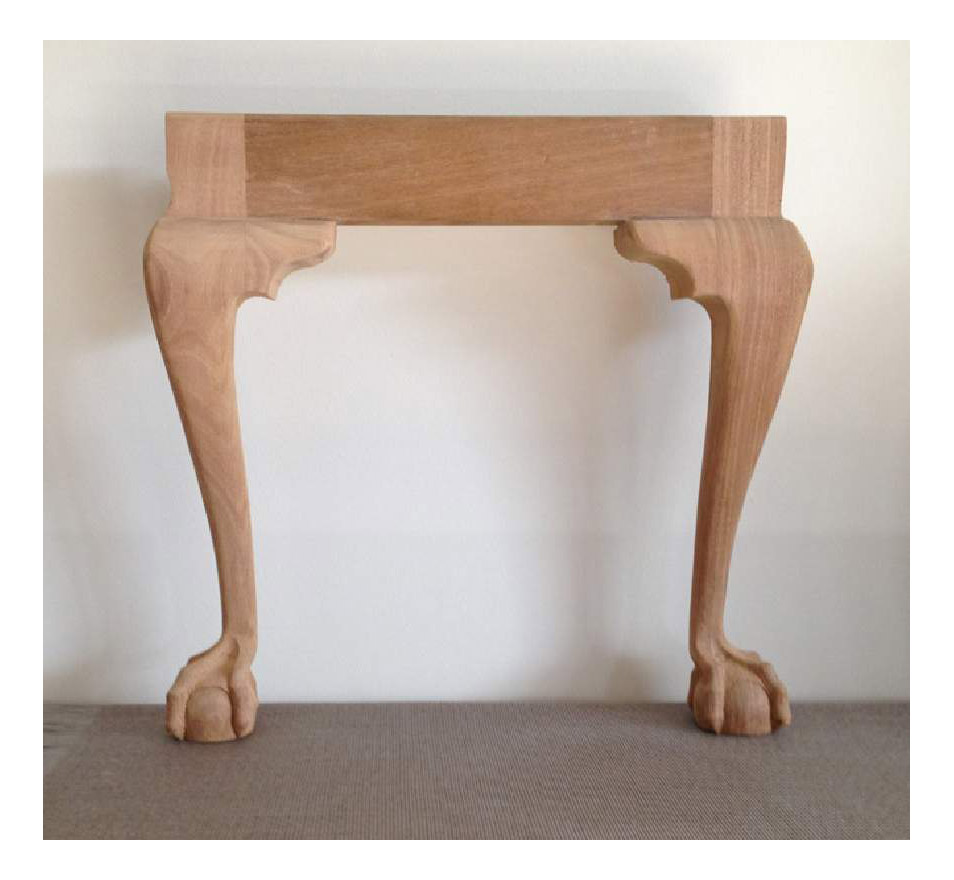
Now the fun starts, templates were traced and legs were cut on the bandsaw. All the curves were smoothed over with a spokeshave and the corners rounded over using rasps.
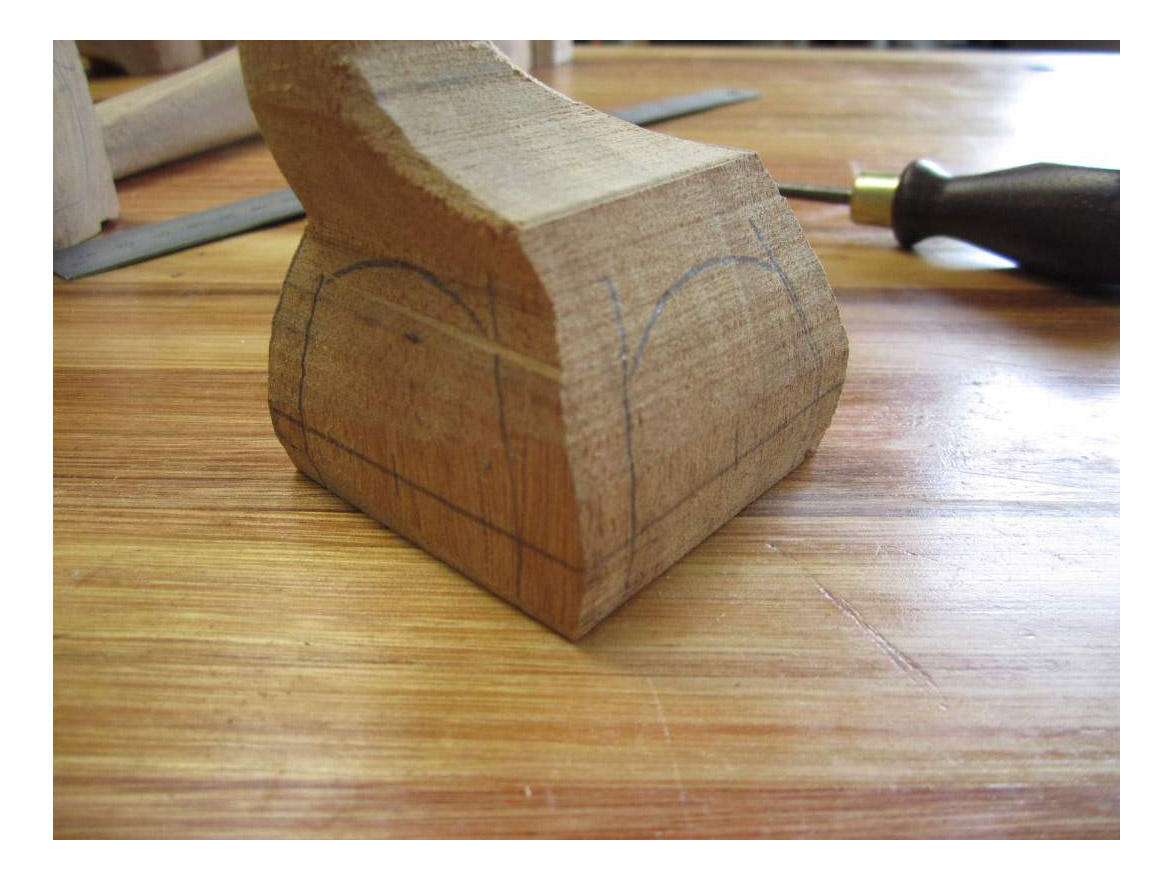
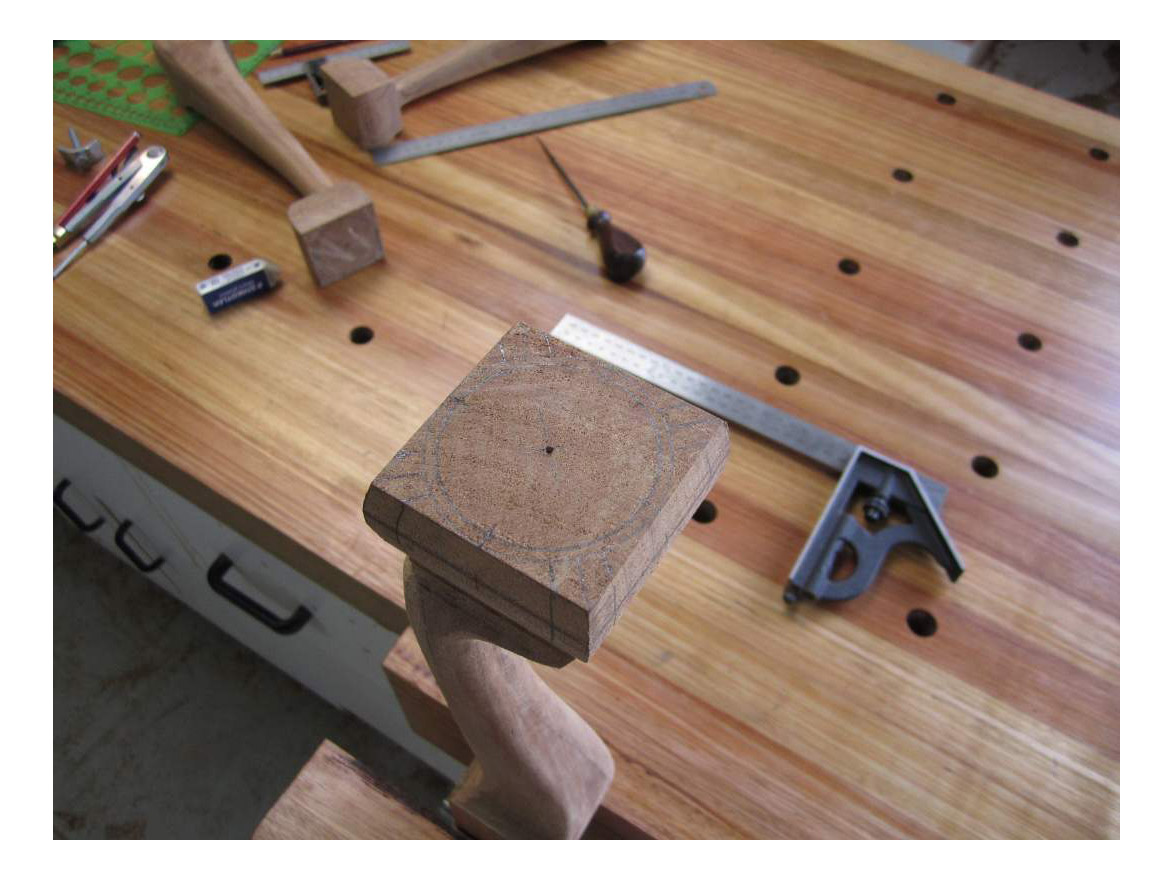
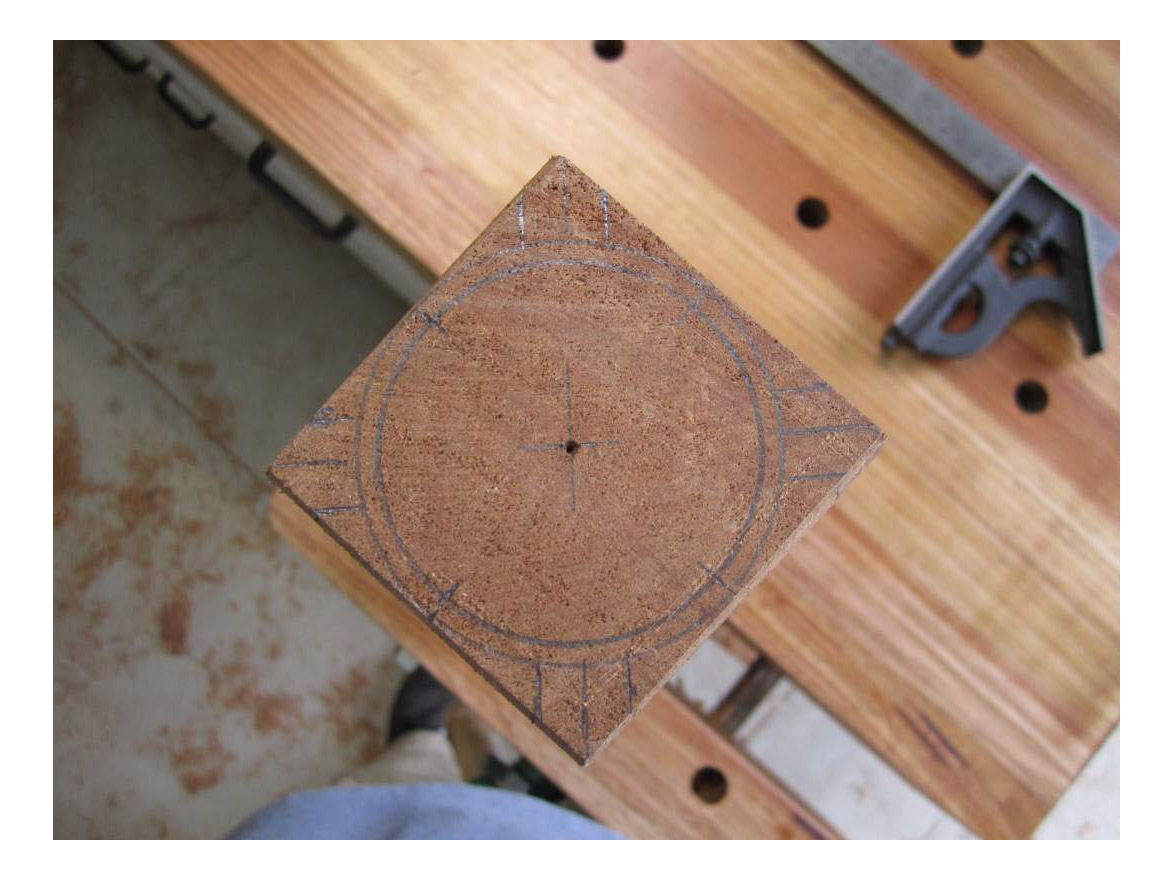
The toes and a general outline of the foot was marked using compasses to ensure all four feet are the same. Two circles are drawn on the base, the larger circle represents the outside diameter of the ball and the smaller circle is the base diameter of the ball.
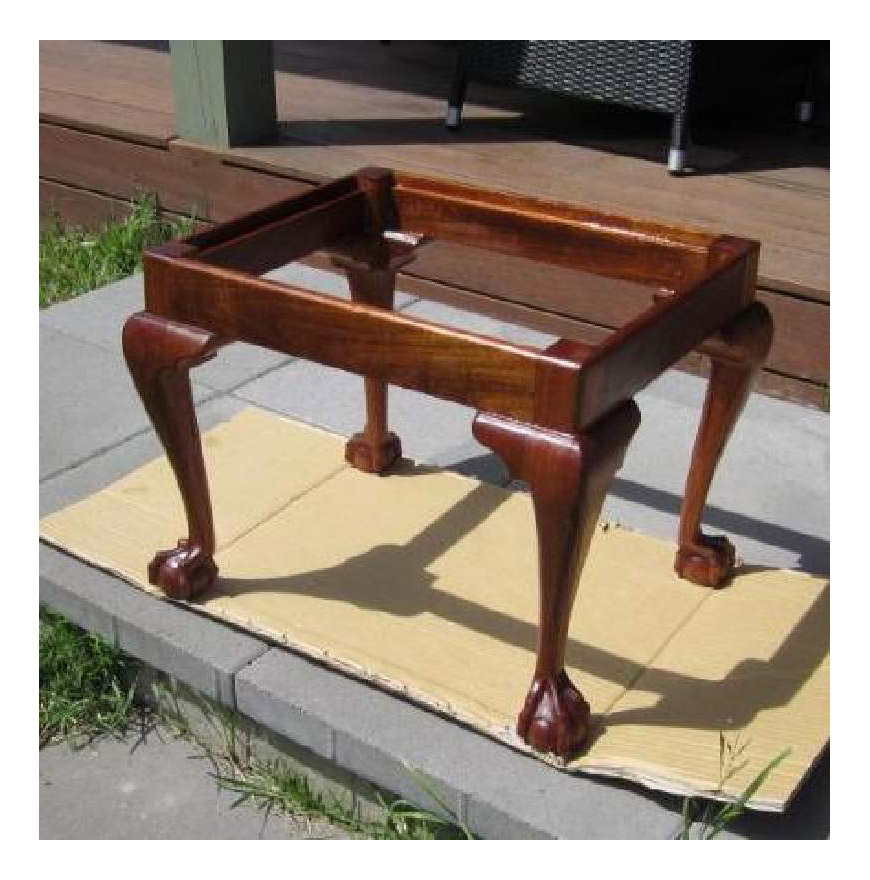
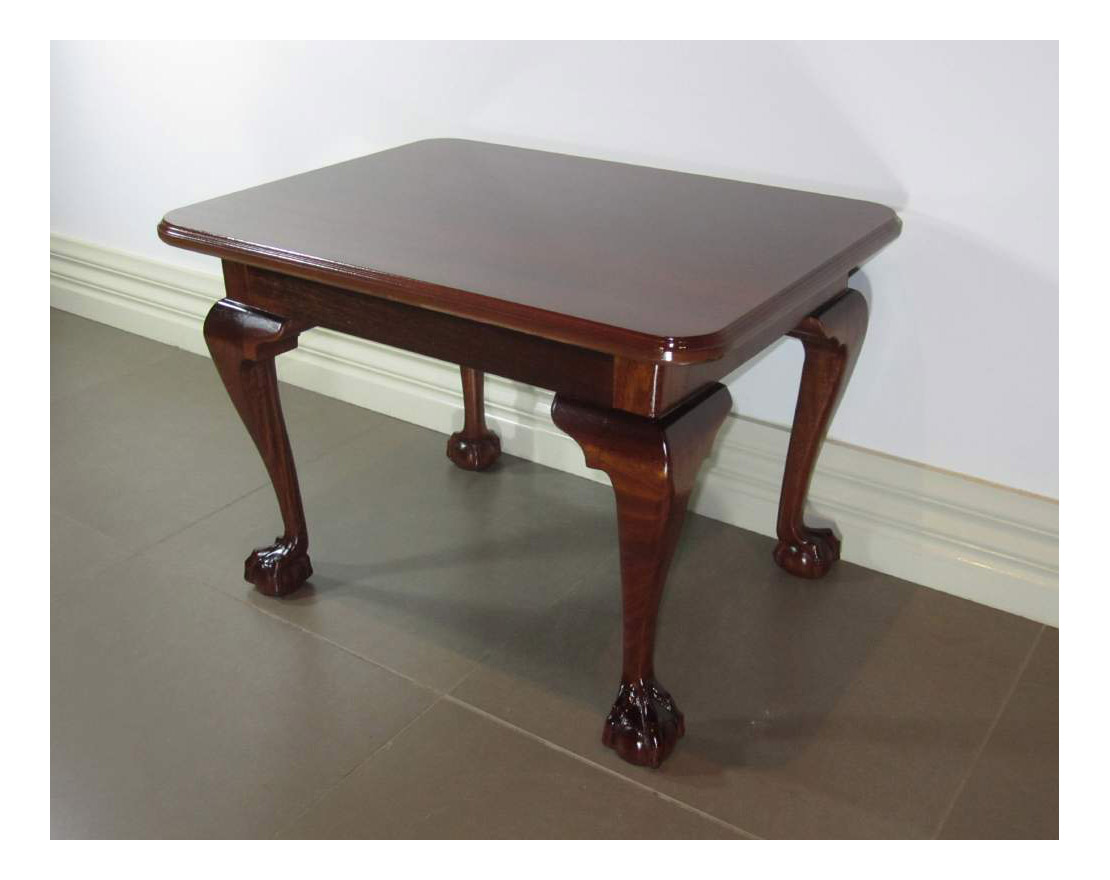
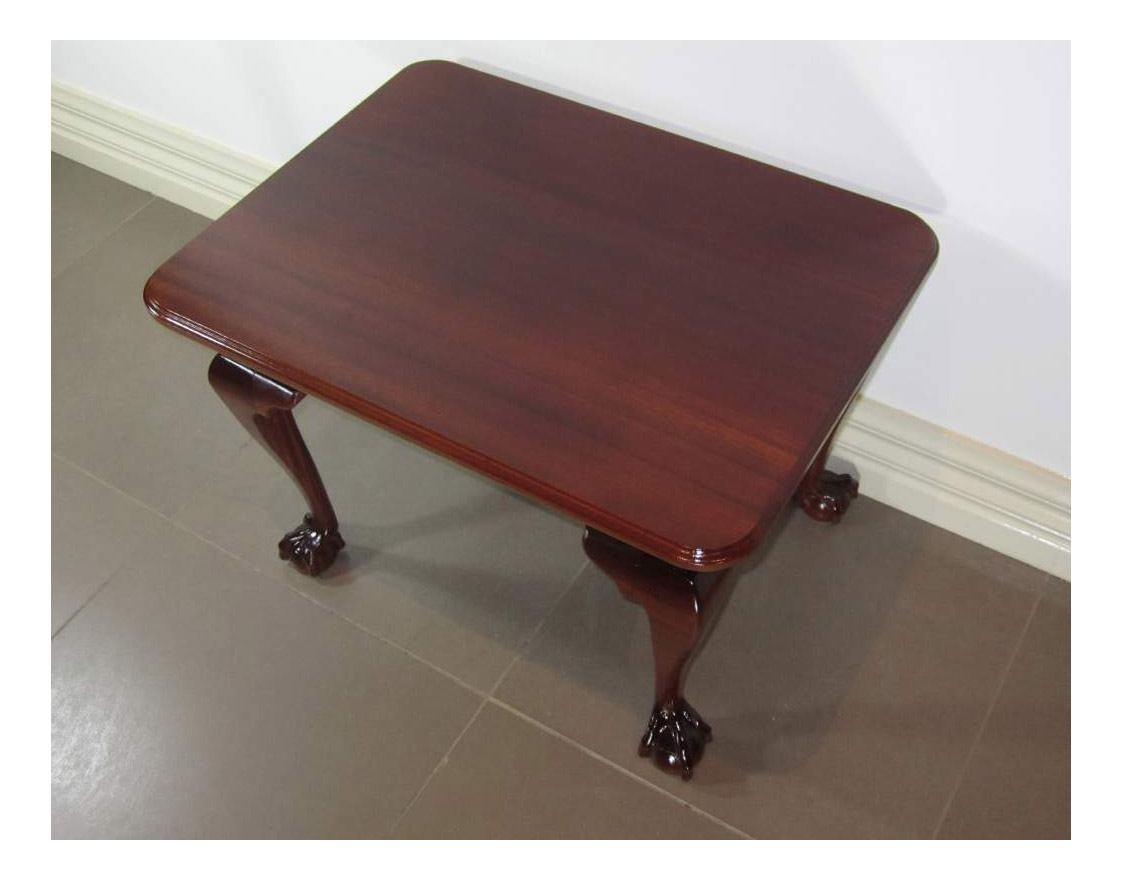
After the oil had dried and any issues sorted it was time for the final finish. I sprayed the whole table with a mixture lacquer tinted with a little walnut stain. This helped to even out the tones through the whole piece. Then applied several coats of full gloss lacquer as a final topcoat, when this completly dries I will rub back the gloss and apply some furniture wax til sliky smooth.
|